- Regular Price
- $ 19.99
- Sale Price
- $ 19.99
- Regular Price
- $ 19.99
Sold Out
- Unit Price
- per
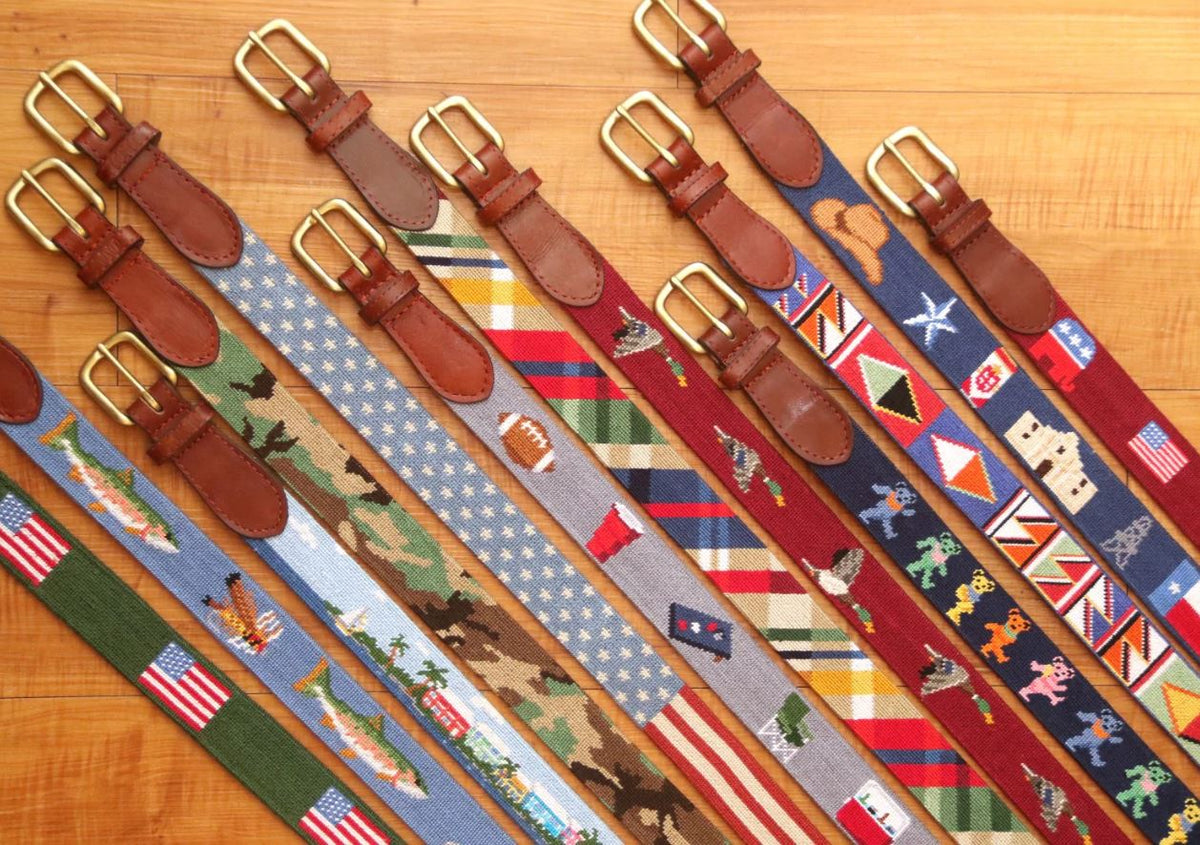
Needlepoint. All it previously was to us was the activity Mimi did after supper while Granddaddy drank his scotch. She kept the basket by the leather arm chair and it always looked extremely boring and laborious to us. Now that we have matured into the young, self-aware preps that we are, we realize that she was onto something-the timeless activity of needlepoint, a prep classic and a staple among our daily lives. (It doesn’t hurt that many of the brands in our closet started making needlepoint everything! Is there anything Smathers & Branson hasn’t made into needlepoint yet?)

Catching onto this prep trend among the younger crowd, we realized that this did in fact have some benefits. For example, we could finally tell which set of Mercedes keys were ours (j/k ;)), thanks to our unique needlepoint key fob! More importantly, what could show our boyfriends how dedicated we are by hand stitching him a belt with our own two hands? That is why, lucky for you, we have taken it upon ourselves to teach you how to needlepoint whatever your heart desires. Here is a simple step-by-step guide that any needlepoint rookie can follow.
This skill was originally very limited to a professional, who could get patterns from European needlepoint books, or wealthy families who had their own. As it became more popular, however, it evolved into an activity that many could participate in, thanks to the availability of needlepoint kits at shops-a trend that is still around today. Of course, now it has transformed into an activity that is embraced by preps far and wide, for many of our daily accessories.

The Canvas: The canvas is the material that you actually stitch on. It is usually made of cotton and has varying mesh sizes.
The Frame: Using a frame helps keep your stitches taut, and help keep your work organized. (As well as making it easy to transport so you have something to do on your flight to Paris.
The Needle: A tapestry needle is the correct needlepoint tool. Buy a package of assorted sizes, as different projects will need different needle sizes.
The Yarn: There are different threads to use based on your project. Some common ones are wool crewel and silk, as well as cotton. Based on the type of canvas you are using, the type of yarn will change.

1. Make sure the edges of your canvas are taped. We all know this project will take longer than you are expecting, so you might as well prevent fraying in the meantime.
2. Cut around 18 inches of thread.
3. Secure the thread on the canvas (we recommend tying a knot). To do so, thread your needle and make a knot at the end of the yarn. Then, starting on the right side of the canvas, take your needle through to the wrong side. The knot should be visible on the right side of the canvas, but your stitches will eventually cover this up (much like your prep school scandal no one knows about).
4. Begin stitching. All basic needlepoint stitches look the same from the front, so it doesn’t really matter which one you do. We’re starting you out with the Half-Cross Stitch, which is demonstrated in the diagram. For the odd numbers, bring your needle up to the good side of the canvas, and for the even numbers push it down to the wrong side. It’s fairly self-explanatory, but don’t get discouraged if it doesn’t come as naturally to you as tennis did.

5. Start on the left of your color block, and work towards the right. Then, return along the row beneath. We recommend having some sort of strong spirit nearby, as finger pricks from the needle are likely.
6. Repeat row after row until that color/area of your canvas pattern is done!
7. To switch colors, or add more thread, simply slide it through the back of the last 3-4 stitches.
8. Stay on top of it for a few days, while you’re still excited about learning.
9. Realize that it takes more effort than you realized, and hurts your eyes as well.
10. See it start to collect dust as you work on it less and less, and buy a Smathers & Branson accessory instead. (We can’t blame ya!)
https://www.countryclubprep.com/collections/smathers-and-branson
1 comment
Caroline, excellent article. My needlepointing consists of only two steps.
Step 1. See needlepoint belt I like
Step 2. Buy it from Longshanks.
😎